I am back with a new post to blog about how you can integrate an Azure WAF with a WebApp. Due to compliance, regulation and mostly privacy protection many customers need to encrypt all web traffic from client to end server. That’s being normally a role for reverse proxies, whether they run in the cloud as a service, as a PaaS instance in your cloud, or even as a network virtual appliance. Using cloud is all about leverage PaaS instances as much as possible, so you don’t have to manage infrustructure resources, apply system updates, build high availability clusters, use load balancers to manage load and scale. There are lots of advantages to use cloud native security controls from the cloud provider, but really the most obvious is the fact you can 100% focus on security and very little on managing infrustructure resources. In addition, cloud native security controls in Azure are completely integrated with Azure logging (Azure Monitor and Log Analytics), application performance monitoring (Azure Application Insights) and Security Information and Event Management (Azure Sentinel)
We know some customers have had the requirement to run web applications completely isolated from other tenants in the cloud, typically for compliance and regulation reasons. That leads the technical architecture design to chose an expensive type of web application, called ‘Application Service Environment’ , which is effectively an Azure WebApp injected on the customer Azure network (vnet) and fully isolated from a compute and memory resources from other customers. Long story short, if you needed to build a PCI-DSS environment in Azure with a WebApp, there is a strong requirement to use ASE instances. That means your application runs completely isolated from cloud shared resources and sits on your azure network. And that’s great, as now you have a network where you can apply security controls like Azure Firewall, Azure WAF, DDoS protection, Network Security Groups, etc.
So let me ask a question, does it mean that if I need to protect my WebApp on Azure with a WAF, I need to use an expensive ASE instance? Nope, that’s not the only option! If you don’t require by compliance the use of a fully isolated webapp, you can definitely use one of the most cost effective WebApp instances and leverage WAF controls. Here I am going to guide you through some simple steps
I am going to assume you are familiar with some of the Azure WebApp components, like custom domains, App service certificates, Azure Key Vaults, etc
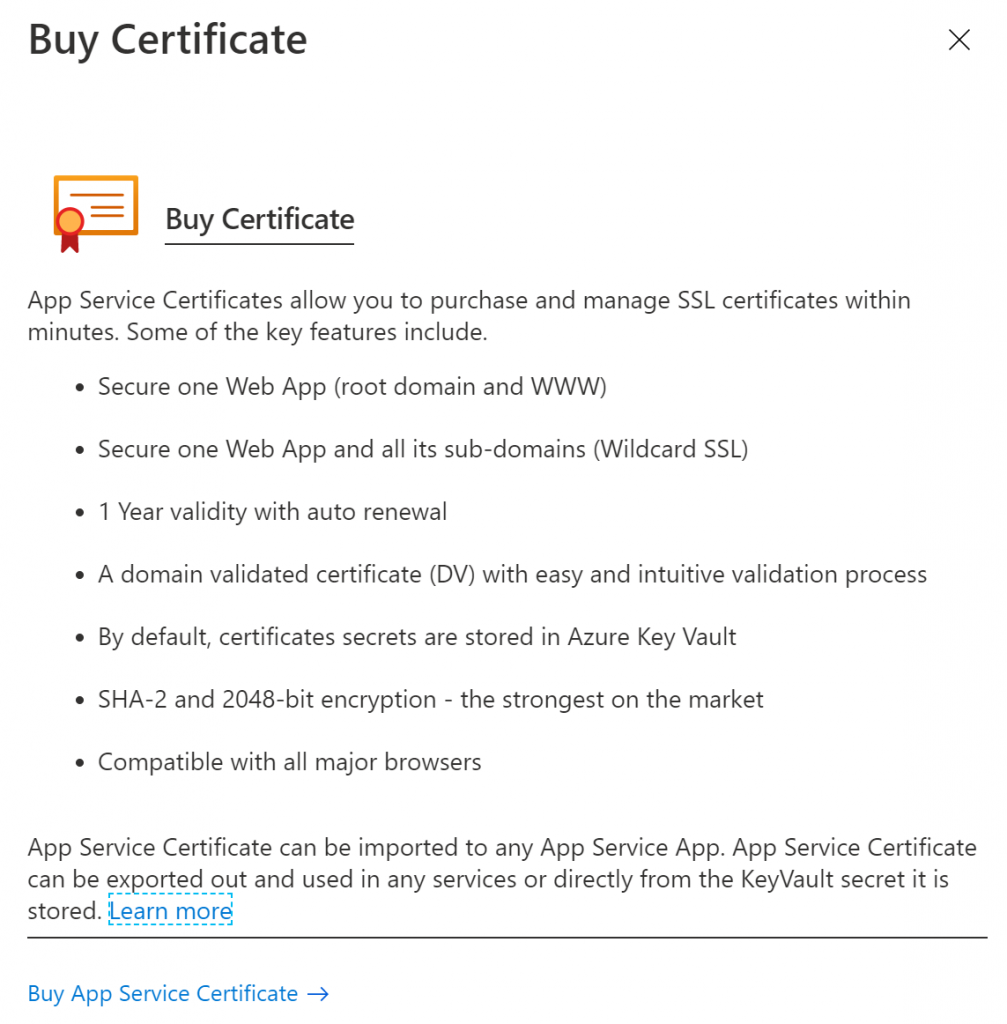
First things first, as I want to have SSL end-to-end encryption, I’ve decided to acquire an AppService certificate through Azure
There are some benefits of buying an AppService certificate through Azure, but to me the fact you can use a wildcard certificate and you can use it for your main domain (i.e myshop.com) but also for subdomains (portal.myshop.com) is great. Azure takes care of certificate life cycle management. Also, it’s fully integrated with Azure Key Vault for certificate and secret management
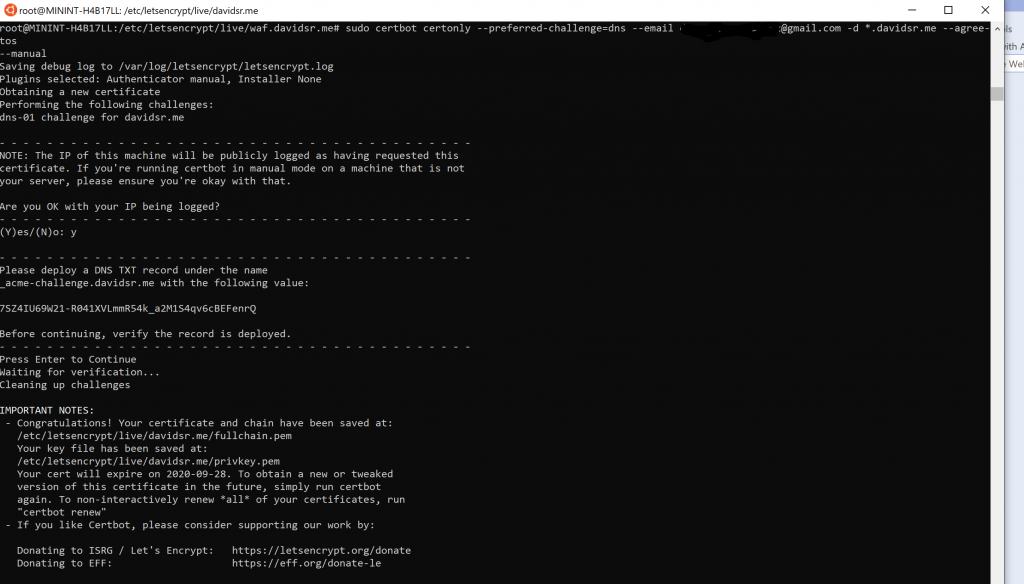
You may want to use a free wildcard SSL certificate from Let’sEncrypt, but you need to take into account you will be responsible for auto-renewal and they will expire after 90 days
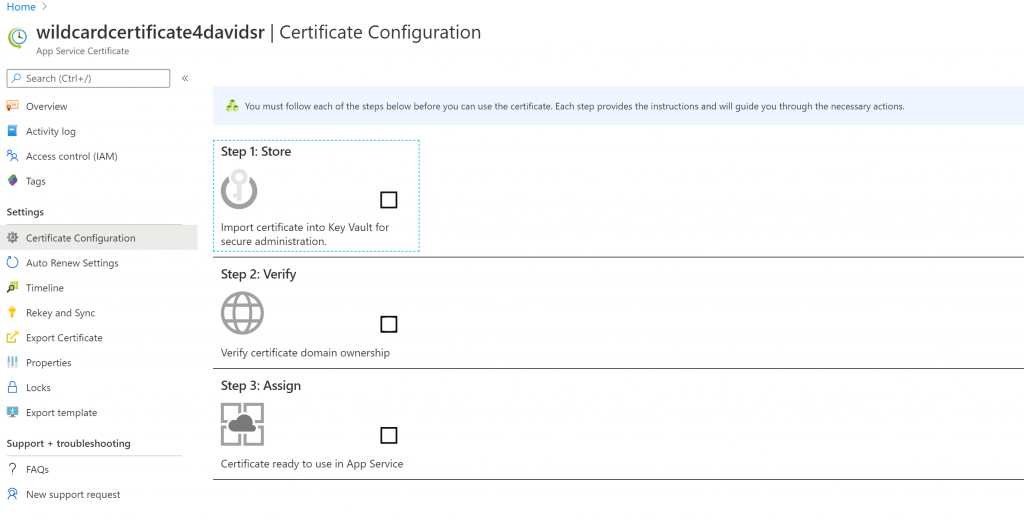
One you’ve acquired your certificate, my recommendation is to store it on Key Vualt

For an AppServicce certificate, these are the steps to integrate with Key Vault
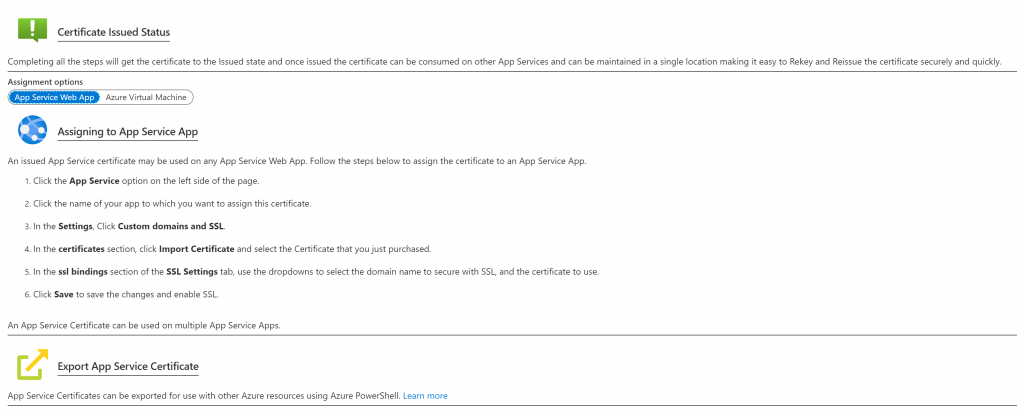
The next step is simply add your certificate to your AppService. You can upload your certificate in .pfx format directly, or you you may want to bring it through Azure Key Vault
Let’sEncrypt is very popular due to the free service they offer. It’s very easy to generate a certificate, you will need to make sure you own the domain and the process will request you to validate that ownership by writing a specific file on your webapp webroot folder. For an AppService, you can access this through ‘Advanced Tools’
Once we are done with the SSL configuration on the AppService side, next thing is to move to the Azure Application Gateway
If you are familiar with reverse proxies technologies, this is very similar. First, you need to have a Listener on your AppGW, associated with a Public IP, exposed on port 443, with an SSL/TLS certificate that you need to reference directly or via Azure Key Vault. Again, we need a new certificate and we can create it through Let’sEncrypt. Using the same certbot utility on a linux system, you will create your certificate and private/public key pair. To convert it to .pfx format you just simply need to run the openssl utility and voila, your certificate is ready to be used in your Azure AppGW
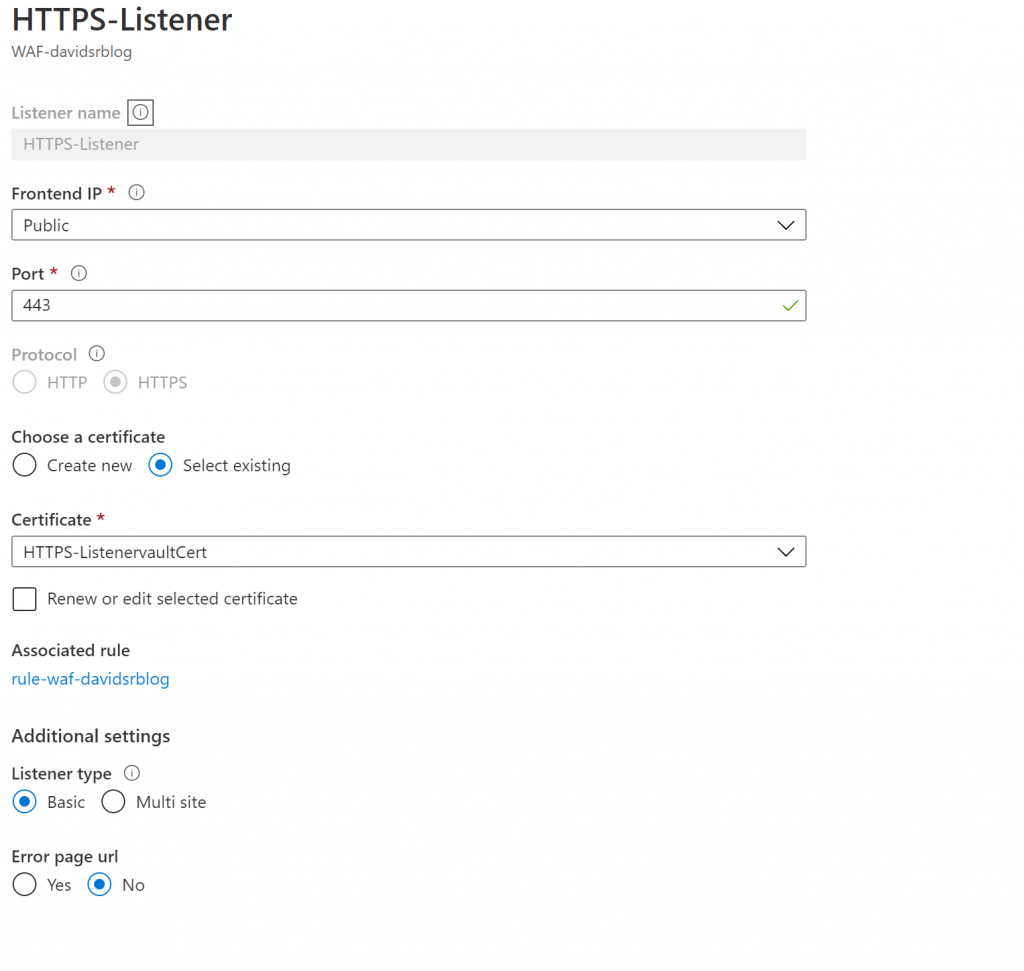
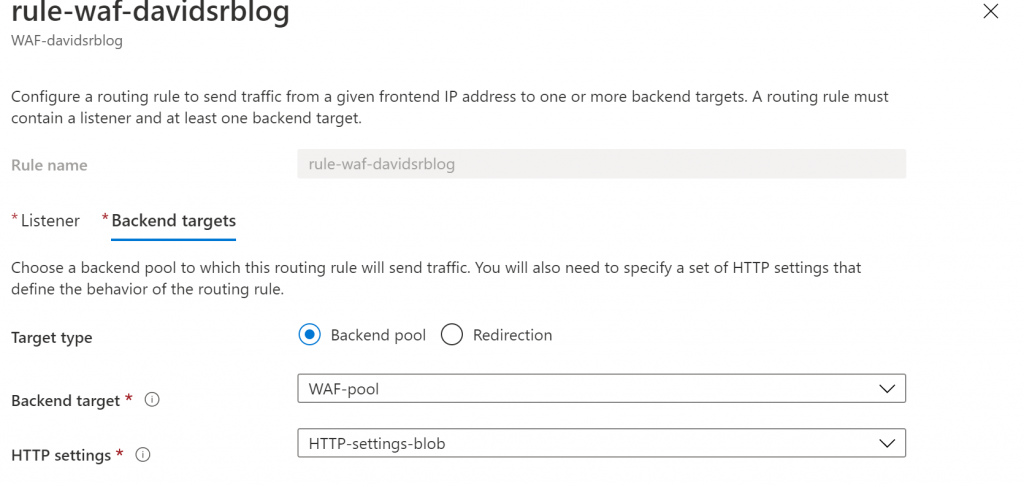
Your listener needs to be associated to a rule, where you basically define your backend pool (your WebApp). Here is important to notice you also need to associate an HTTP/S settings, which also reference to a probe
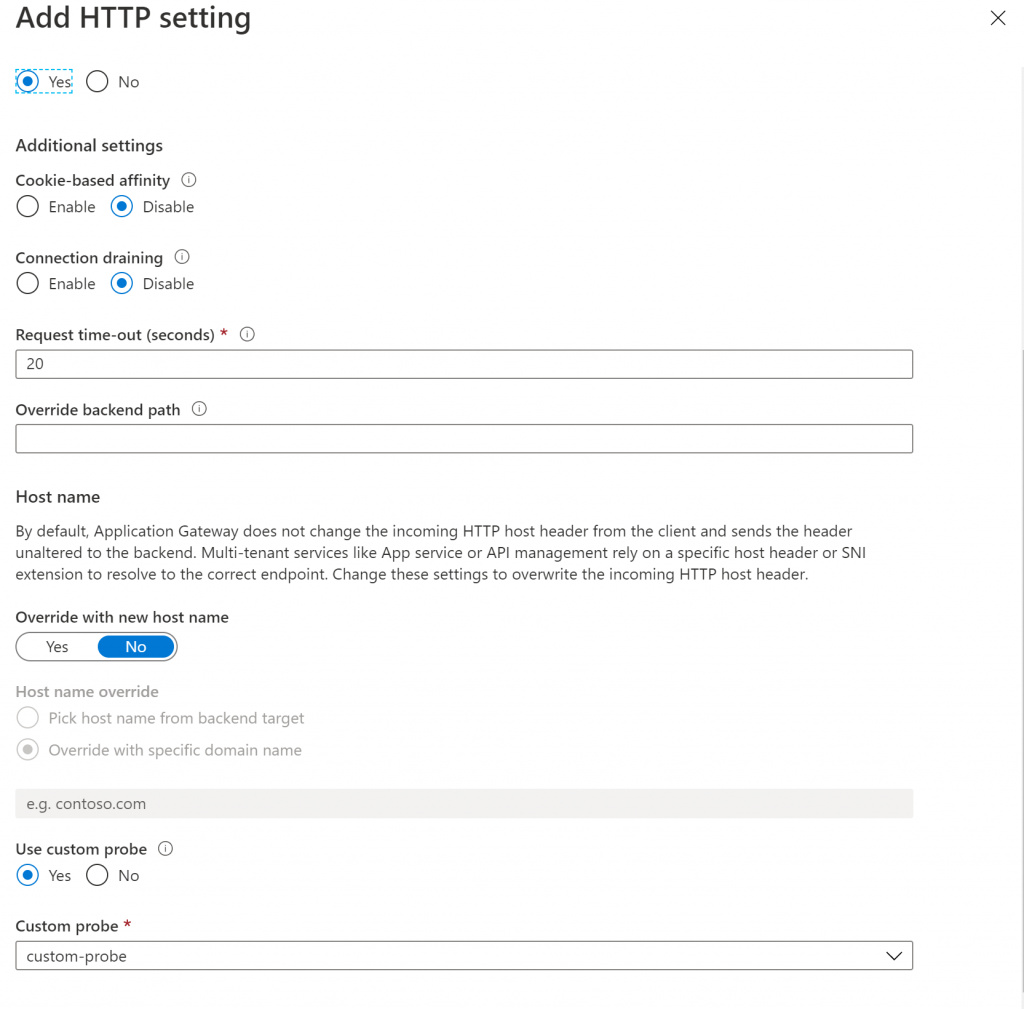
Your HTTP settings will look like this:
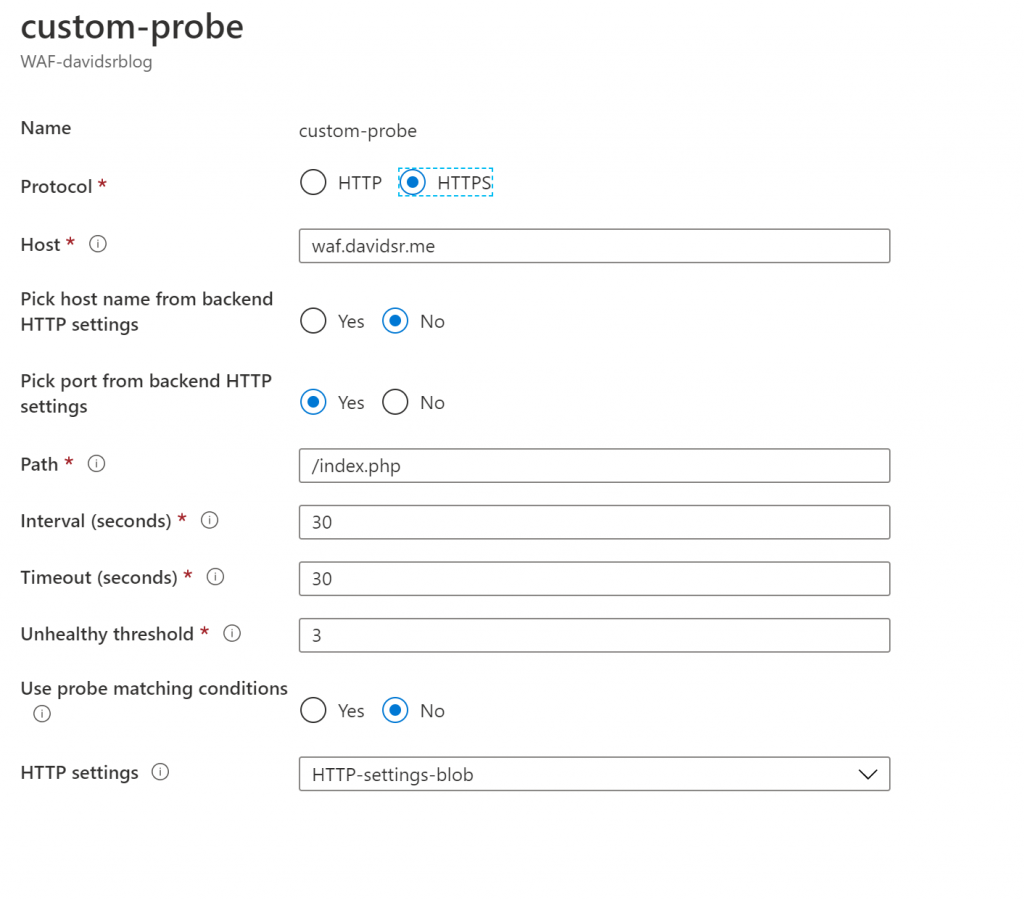
And finally, important to note your custom probe needs to target a server host name which is essentially the virtual host running on the application server. For HTTPS, make sure that this host name is the same as the CN of the server certificate
Once we are done with the Listener settings on the AppGW, next thing is to reference the SSL certificate that the AppGW will use to do web inspection (via SSL decryption)

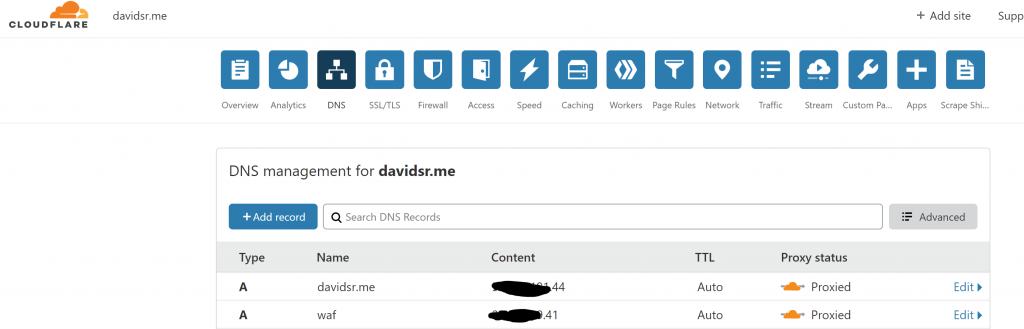
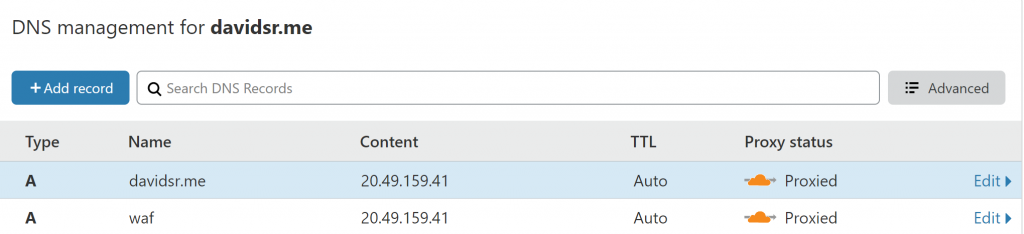
For this application, I am using Cloudflare as many times customers will use other CDNs and not only Azure CDN or Azure FrontDoor. I use Cloudflare for DNS management and also proxying my root domain traffic to Azure and any subdomains. For the purposes of this test, I have created a subdomain which goes to the Azure AppGW and root domain will go straight to the Azure WebApp
You can see your AppGW public IP on main ‘overview’ page

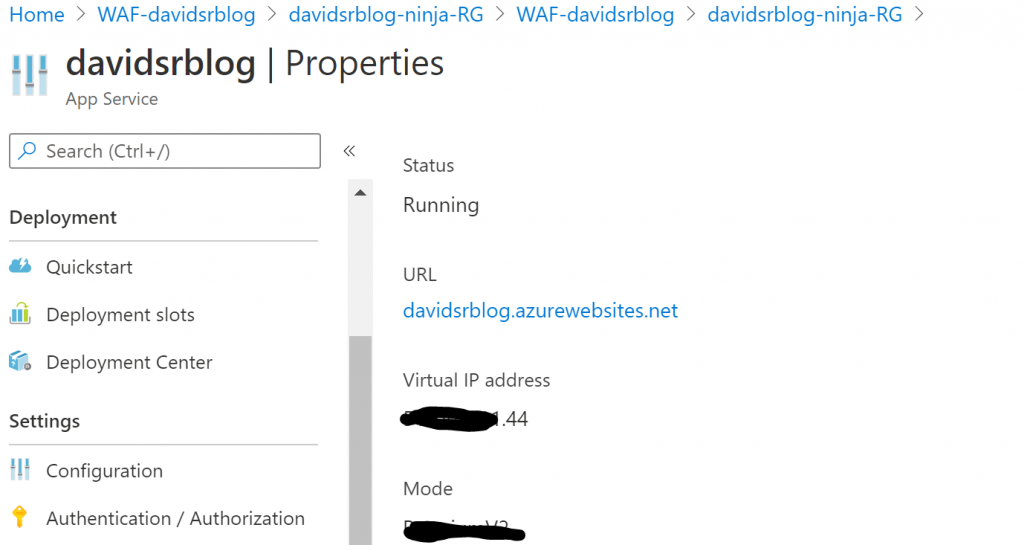
And for the Azure WebApp you can see the Public IP on the ‘properties’ page
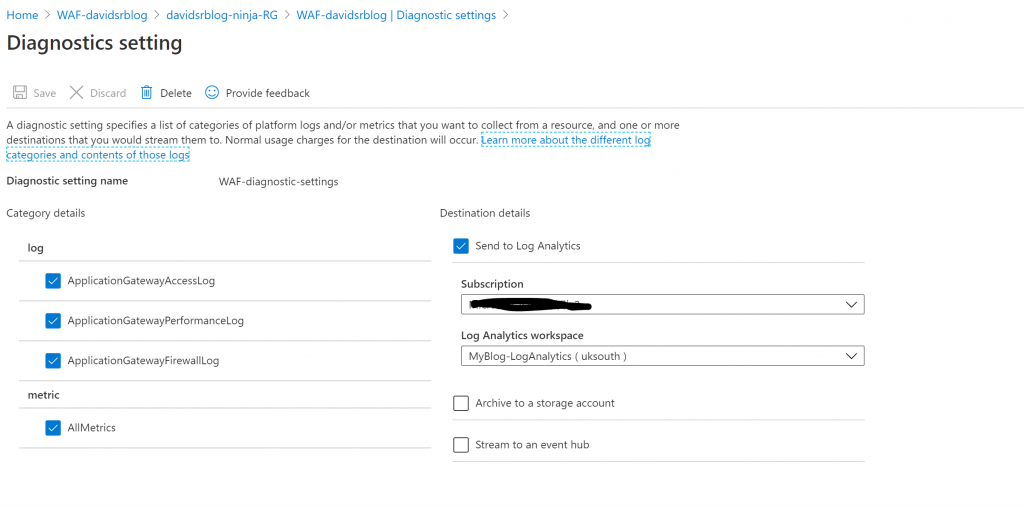
For any type of troubleshooting, log insights, metrics and network traffic analysis from the AppGW and WAF, it’s always a great idea to use the ‘Diagnostic Settings’ on the AppGW so all those logs can be stored in Log Analytics.
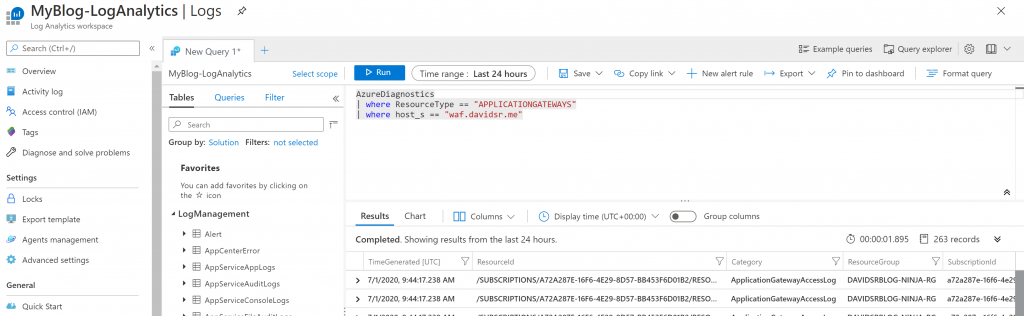
I have decided to use a subdomain to test my WebApp going through the Azure AppGW, instead of the main root domain which goes straight to the WebApp
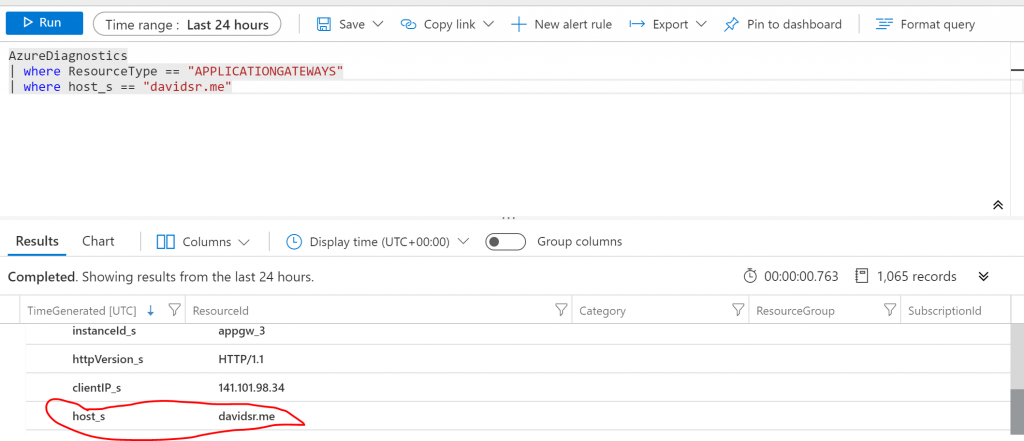
Doing a simple browser check for my subdomain, which goes through the AppGW, you can see on LogAnalytics that traffic is flowing well with no errors
Once you have confirmed that the AppGW is well configured, then it’s time to switch your main root domain to go straight to your Azure AppGW
Doing a few more browser checks on your main root domain, we will query now LogAnalytics on root domain
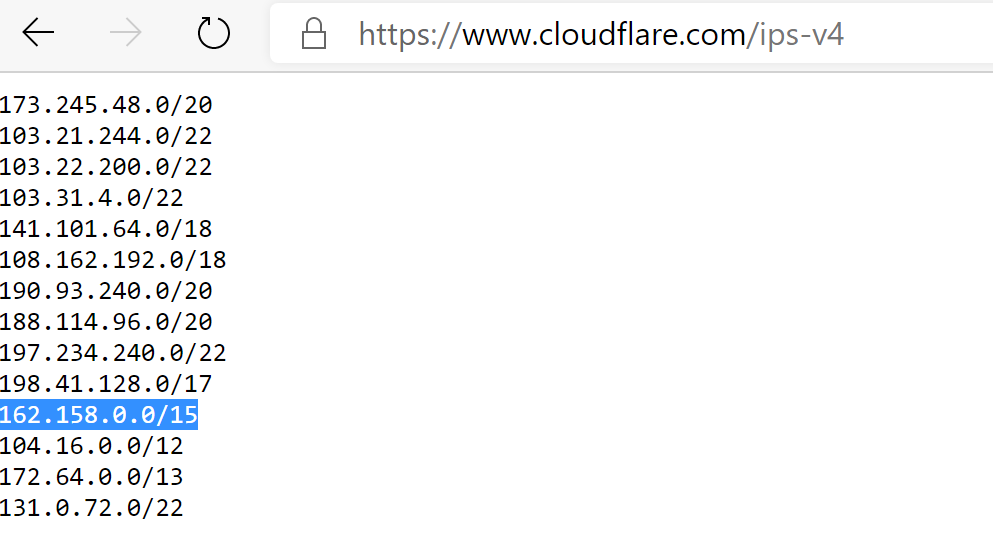
Once we have confirmed that all traffic goes through your CDN and Azure Application Gateway, the last thing is to lock down your Azure WebApp ingress traffic, so we create a simple allow-list to only allow CloudFlare and your Azure Application Gateway to route traffic to your Azure WebApp
You can get a list of Public IPs that Cloudflare uses to route traffic out
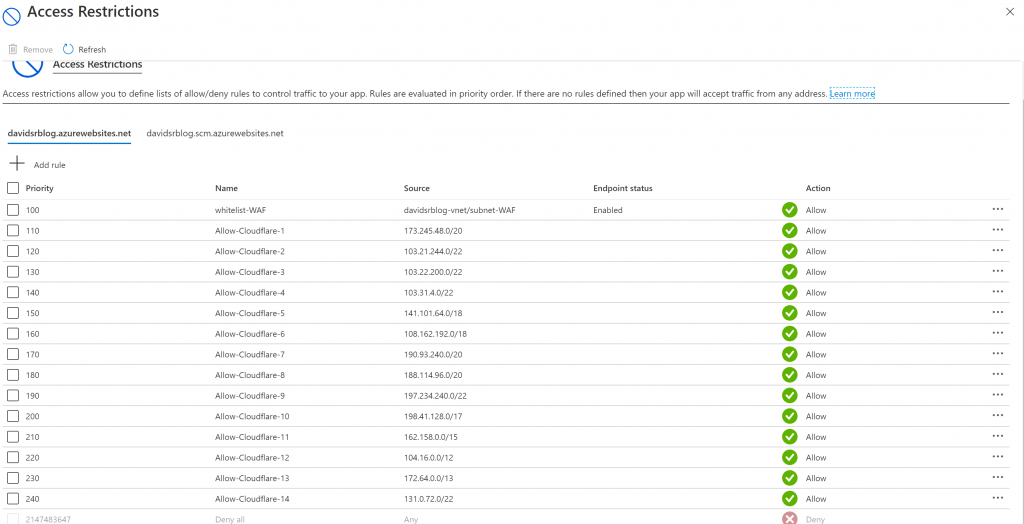
On your Azure WebApp, go to ‘Networking’ settings and go to ‘Access restrictions’. You can use Azure cli to configure this list
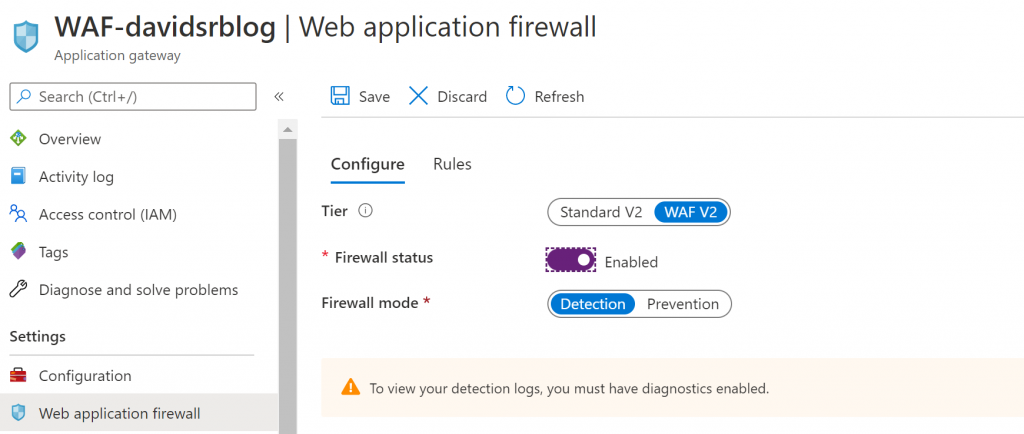
Last but not least, once you are happy with your AppGW functionality, we will change the configuration to make it work as a WAF
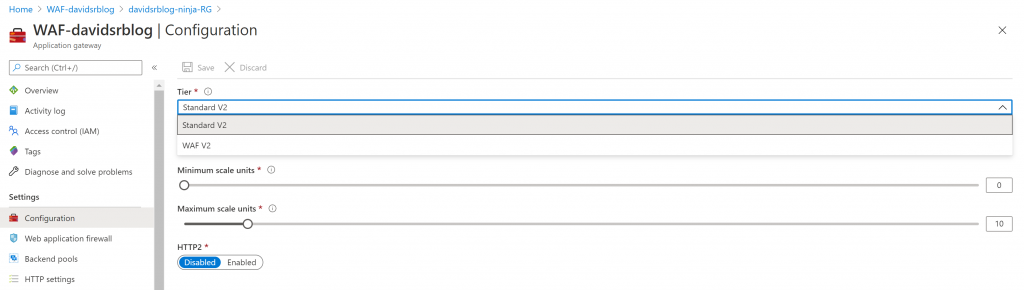
And make sure you ‘enable’ the Firewall functionality, detection or prevention (blocking) mode
As you can see, it is definitely possible to use Azure WAF with multi-tenant WebApps, doing SSL end-to-end encryption and making sure you lock down ingress traffic to your application effectively
0 Comments